ZenProg Remote: 4. Organisation into projects
Projects make it possible to group the devices of the same installation and organise them into levels (for example, building, floor and zone). Projects are saved in the Zennio Remote account, so they are available from any PC where that account is logged in.
4.1. Dashboard
The dashboard is the initial screen of the application and has two tabs:
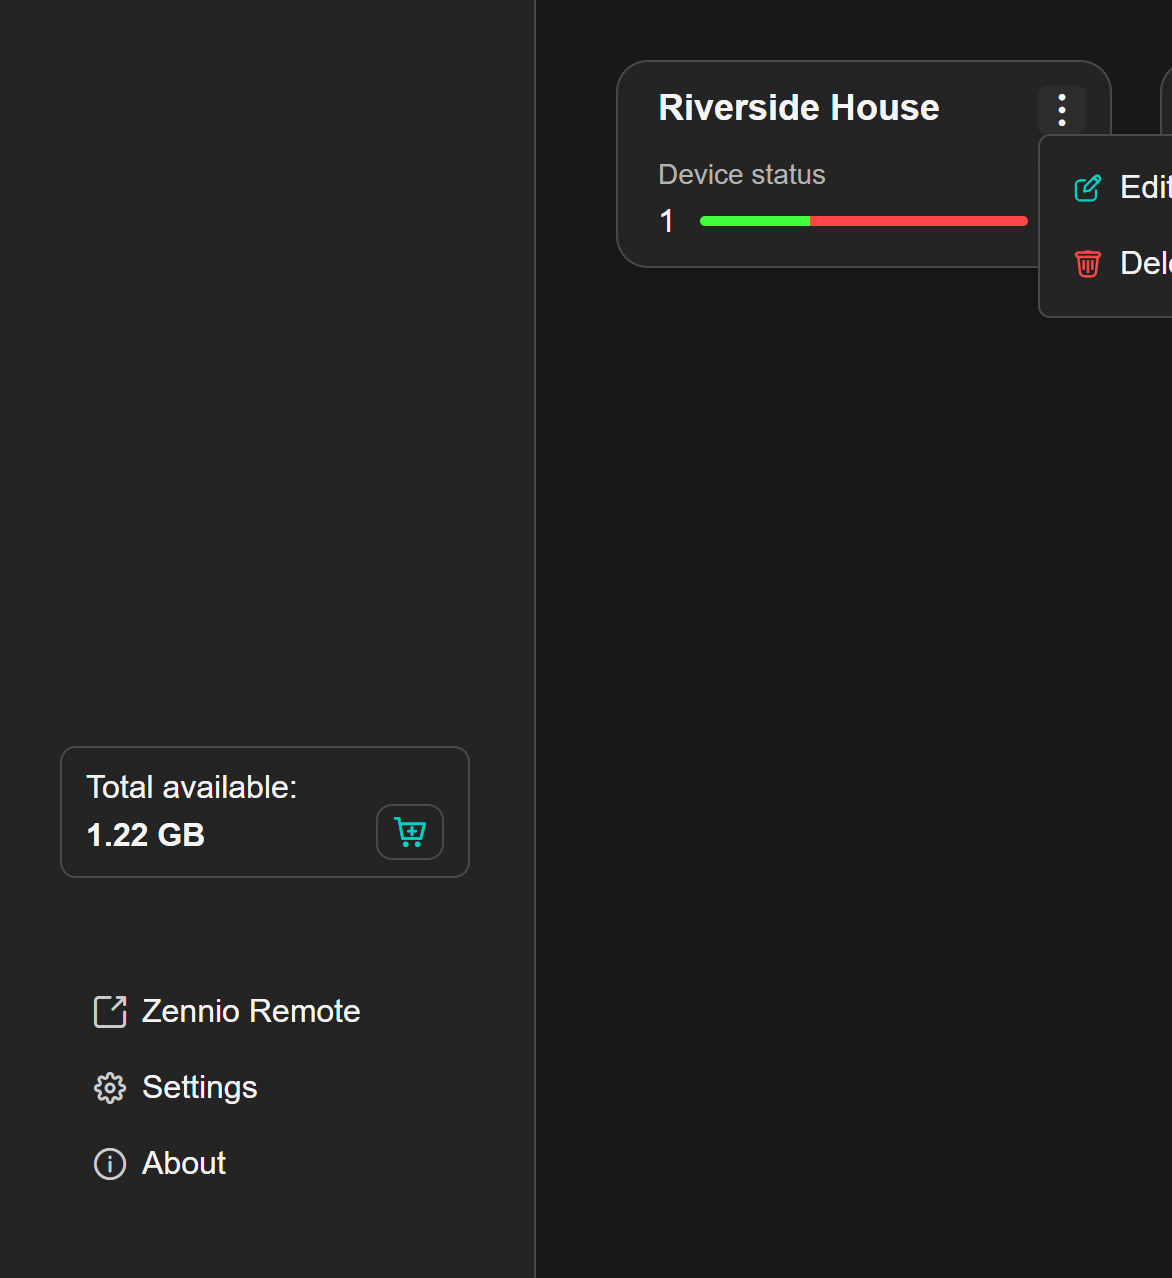
- “Projects”: shows one card per project (Figure 5). Each card indicates the number of online (green) and offline (red) devices. Clicking on a card opens the project view (see section 4.4); the three-dot menu allows editing the name or deleting the project.
- “Devices without project”: lists the paired devices that do not belong to any project (see section 4.3).
The search box filters the projects by name or the devices by name, depending on the active tab.
4.2. Creating, editing and deleting projects
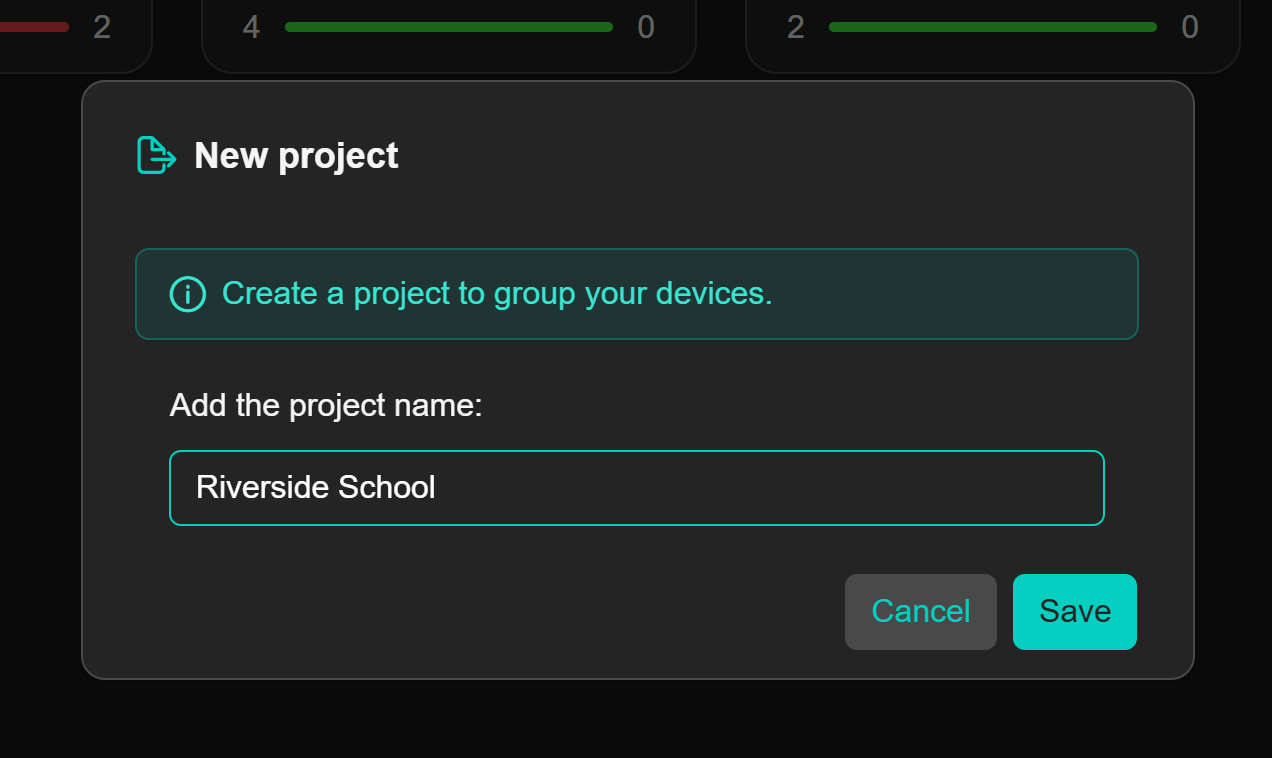
To create a project, click on “Project +” in the “Projects” tab, enter a name and press “Save” (Figure 15). The project appears as an empty card to which levels and devices can already be added.
The three-dot menu of each card (Figure 16) allows editing the name of the project or deleting it.
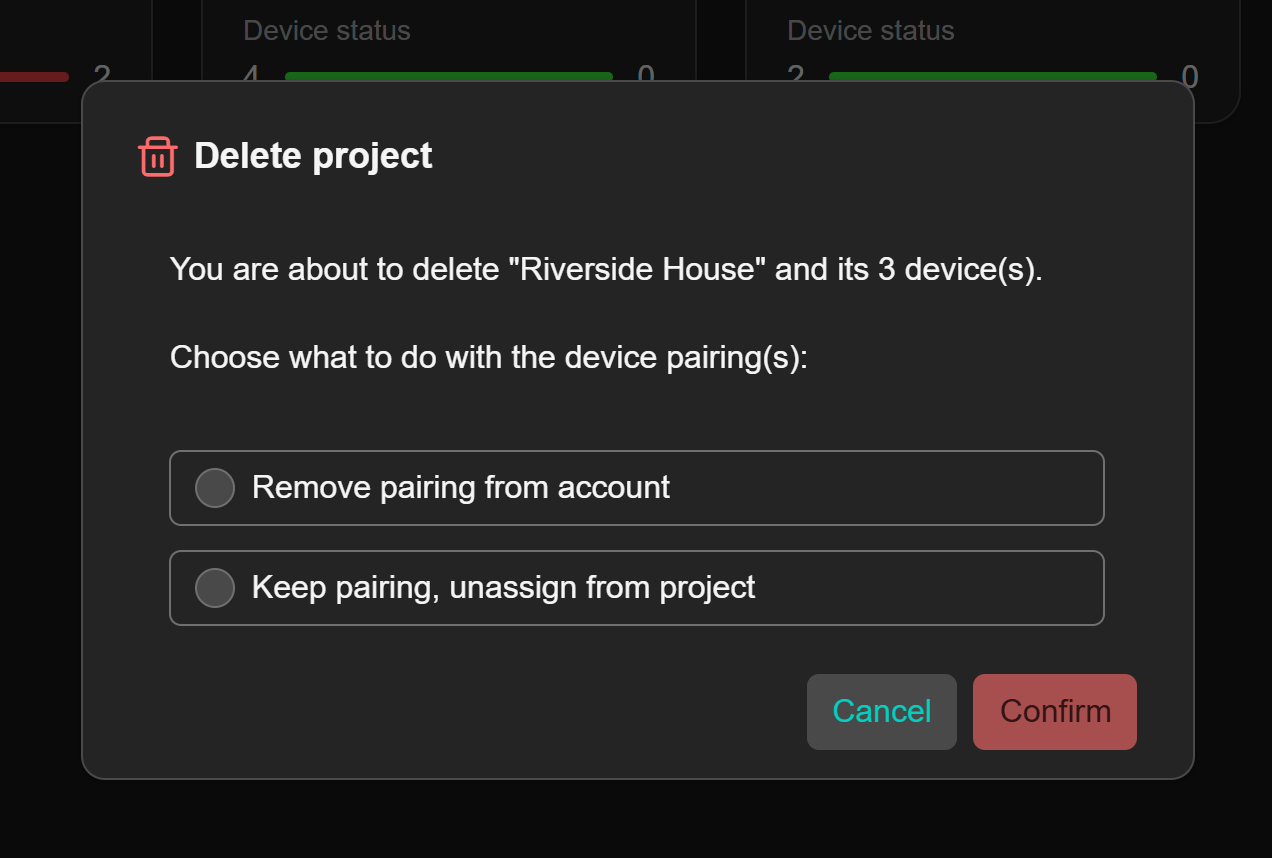
When deleting a project with devices, the application asks what to do with their pairings (Figure 17):
- “Remove pairing from account”: the devices stop being linked to the account.
- “Keep pairing, unassign from project”: the devices move to the “Devices without project” tab.
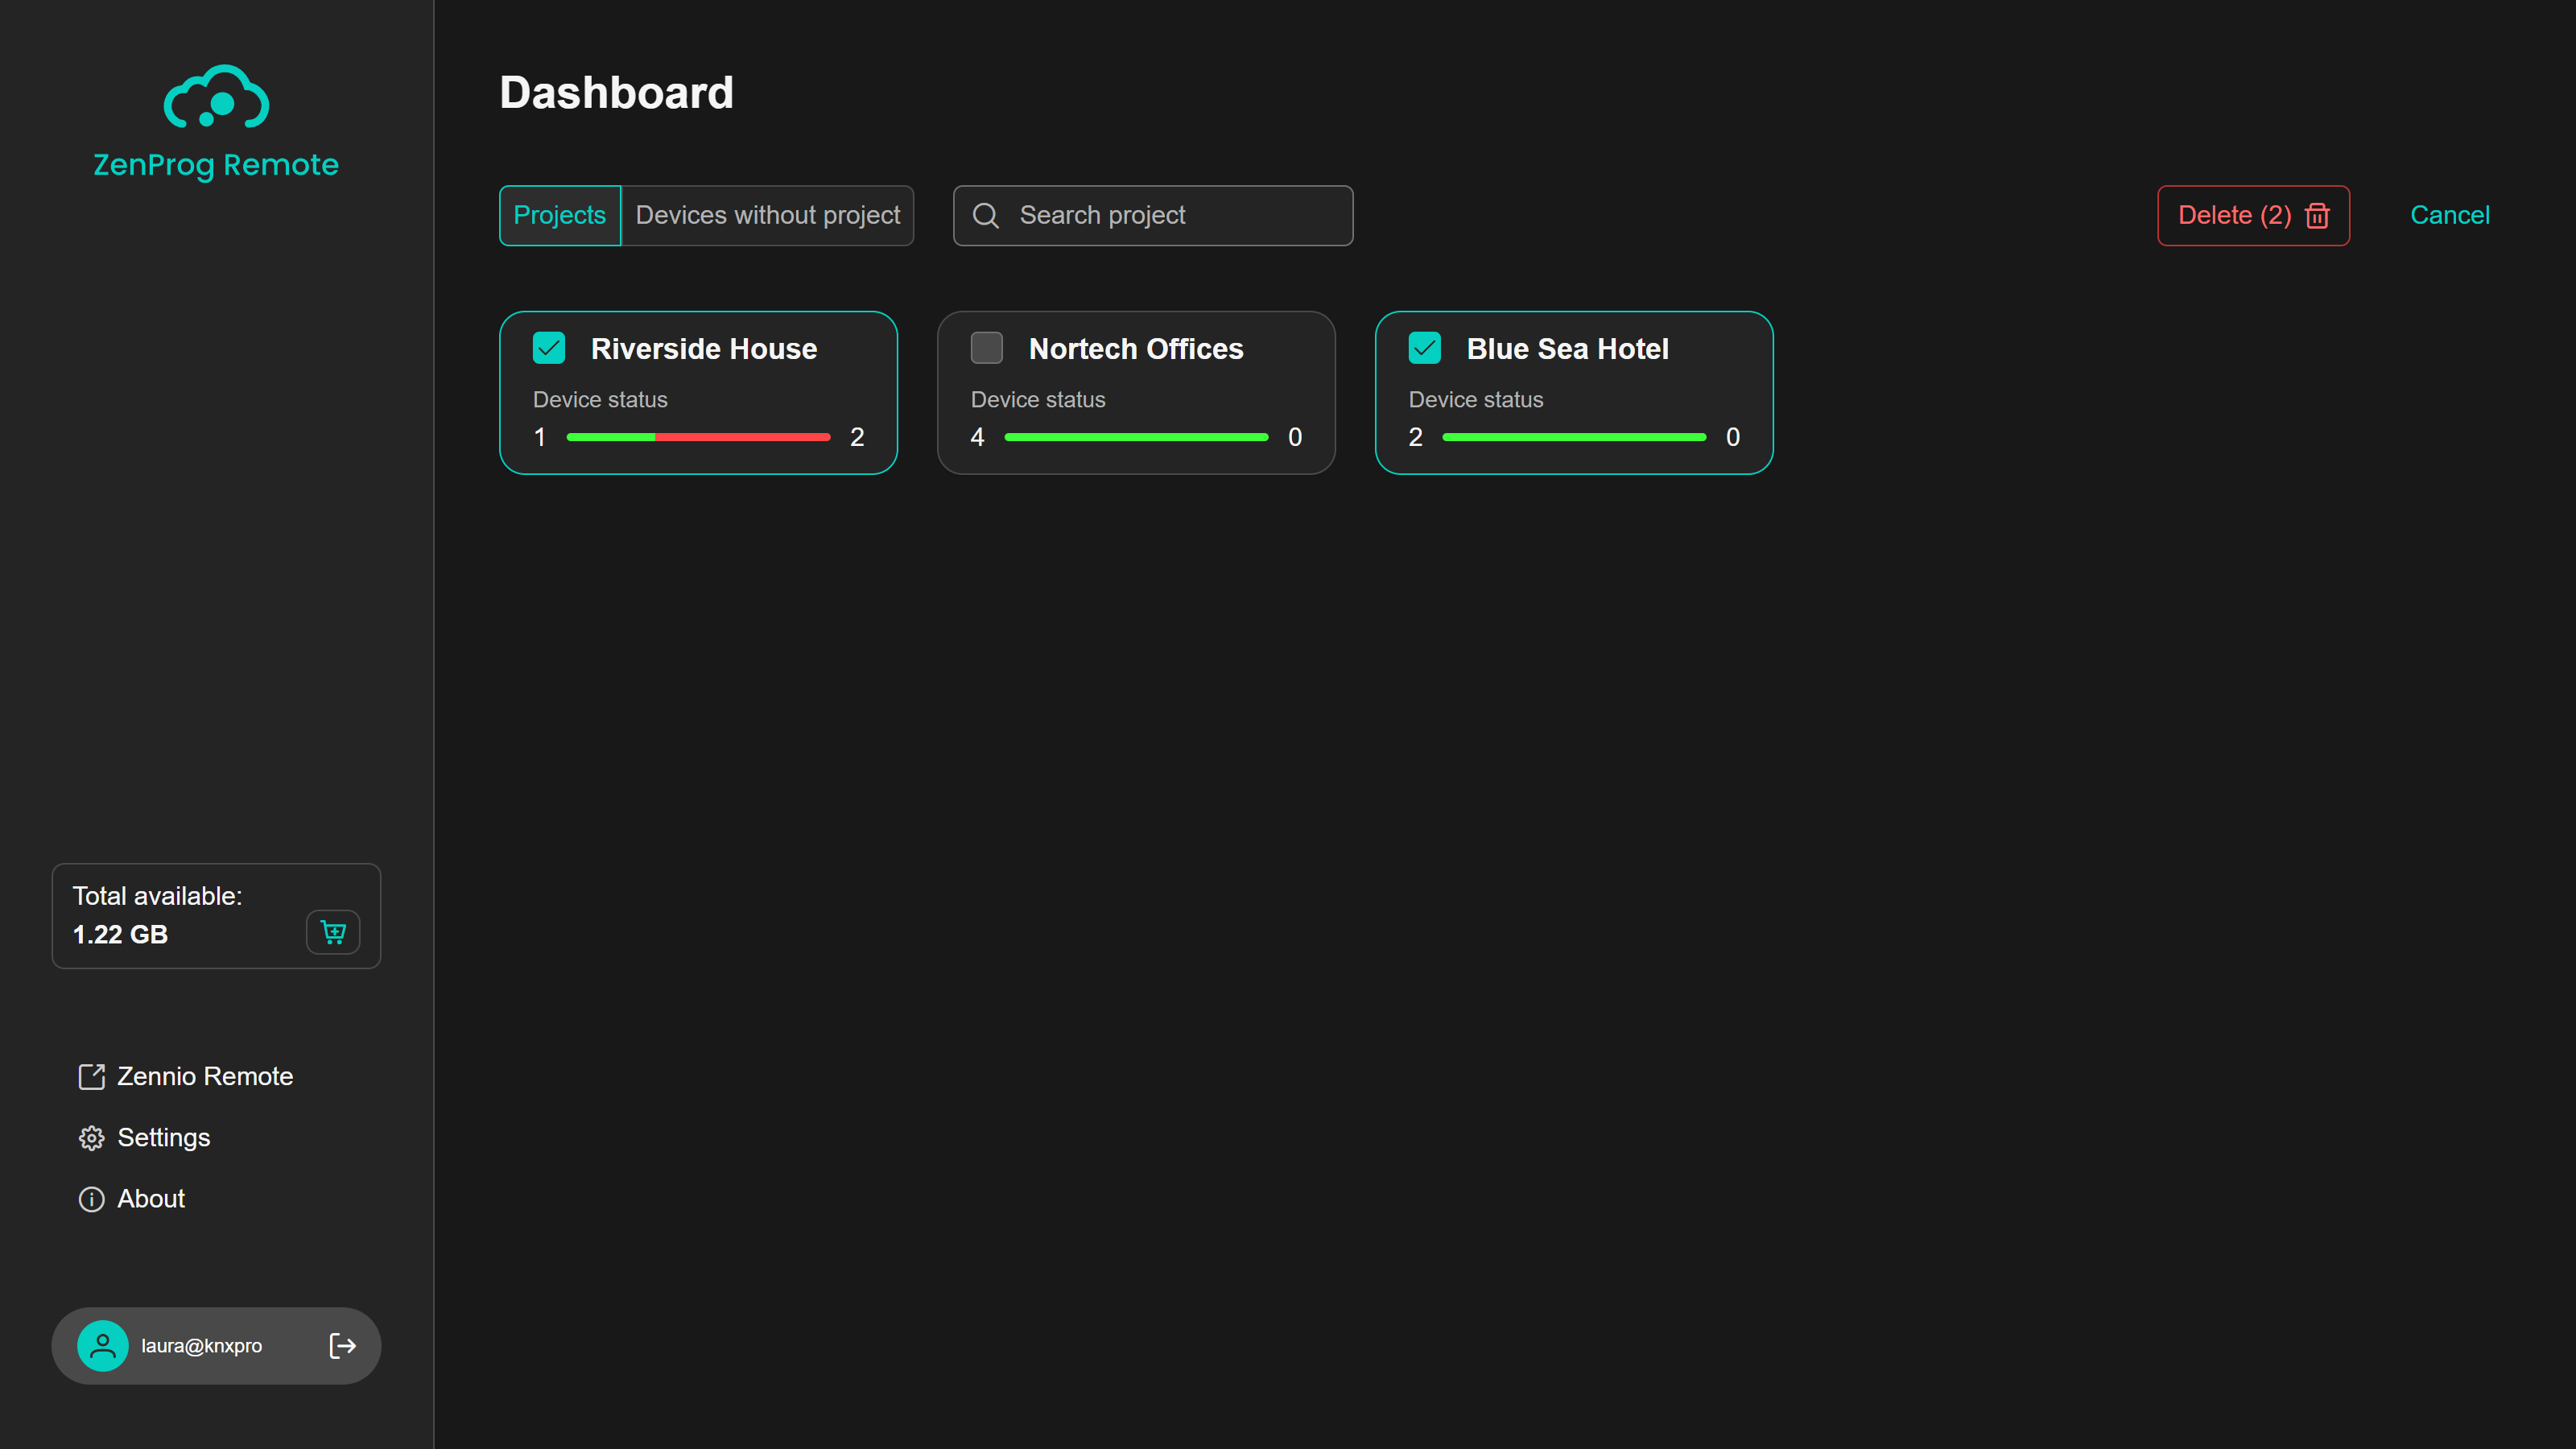
To delete several projects at once, click on “Select”, tick the desired cards and press “Delete (n)” (Figure 18).
Important
The deletion of a project or of a pairing cannot be undone.
4.3. Devices without project
The “Devices without project” tab (Figure 19) shows the devices paired with the account that have not been assigned to any project yet. When a device is assigned to a project it disappears from this list, and it comes back to it if it is taken out of the project.
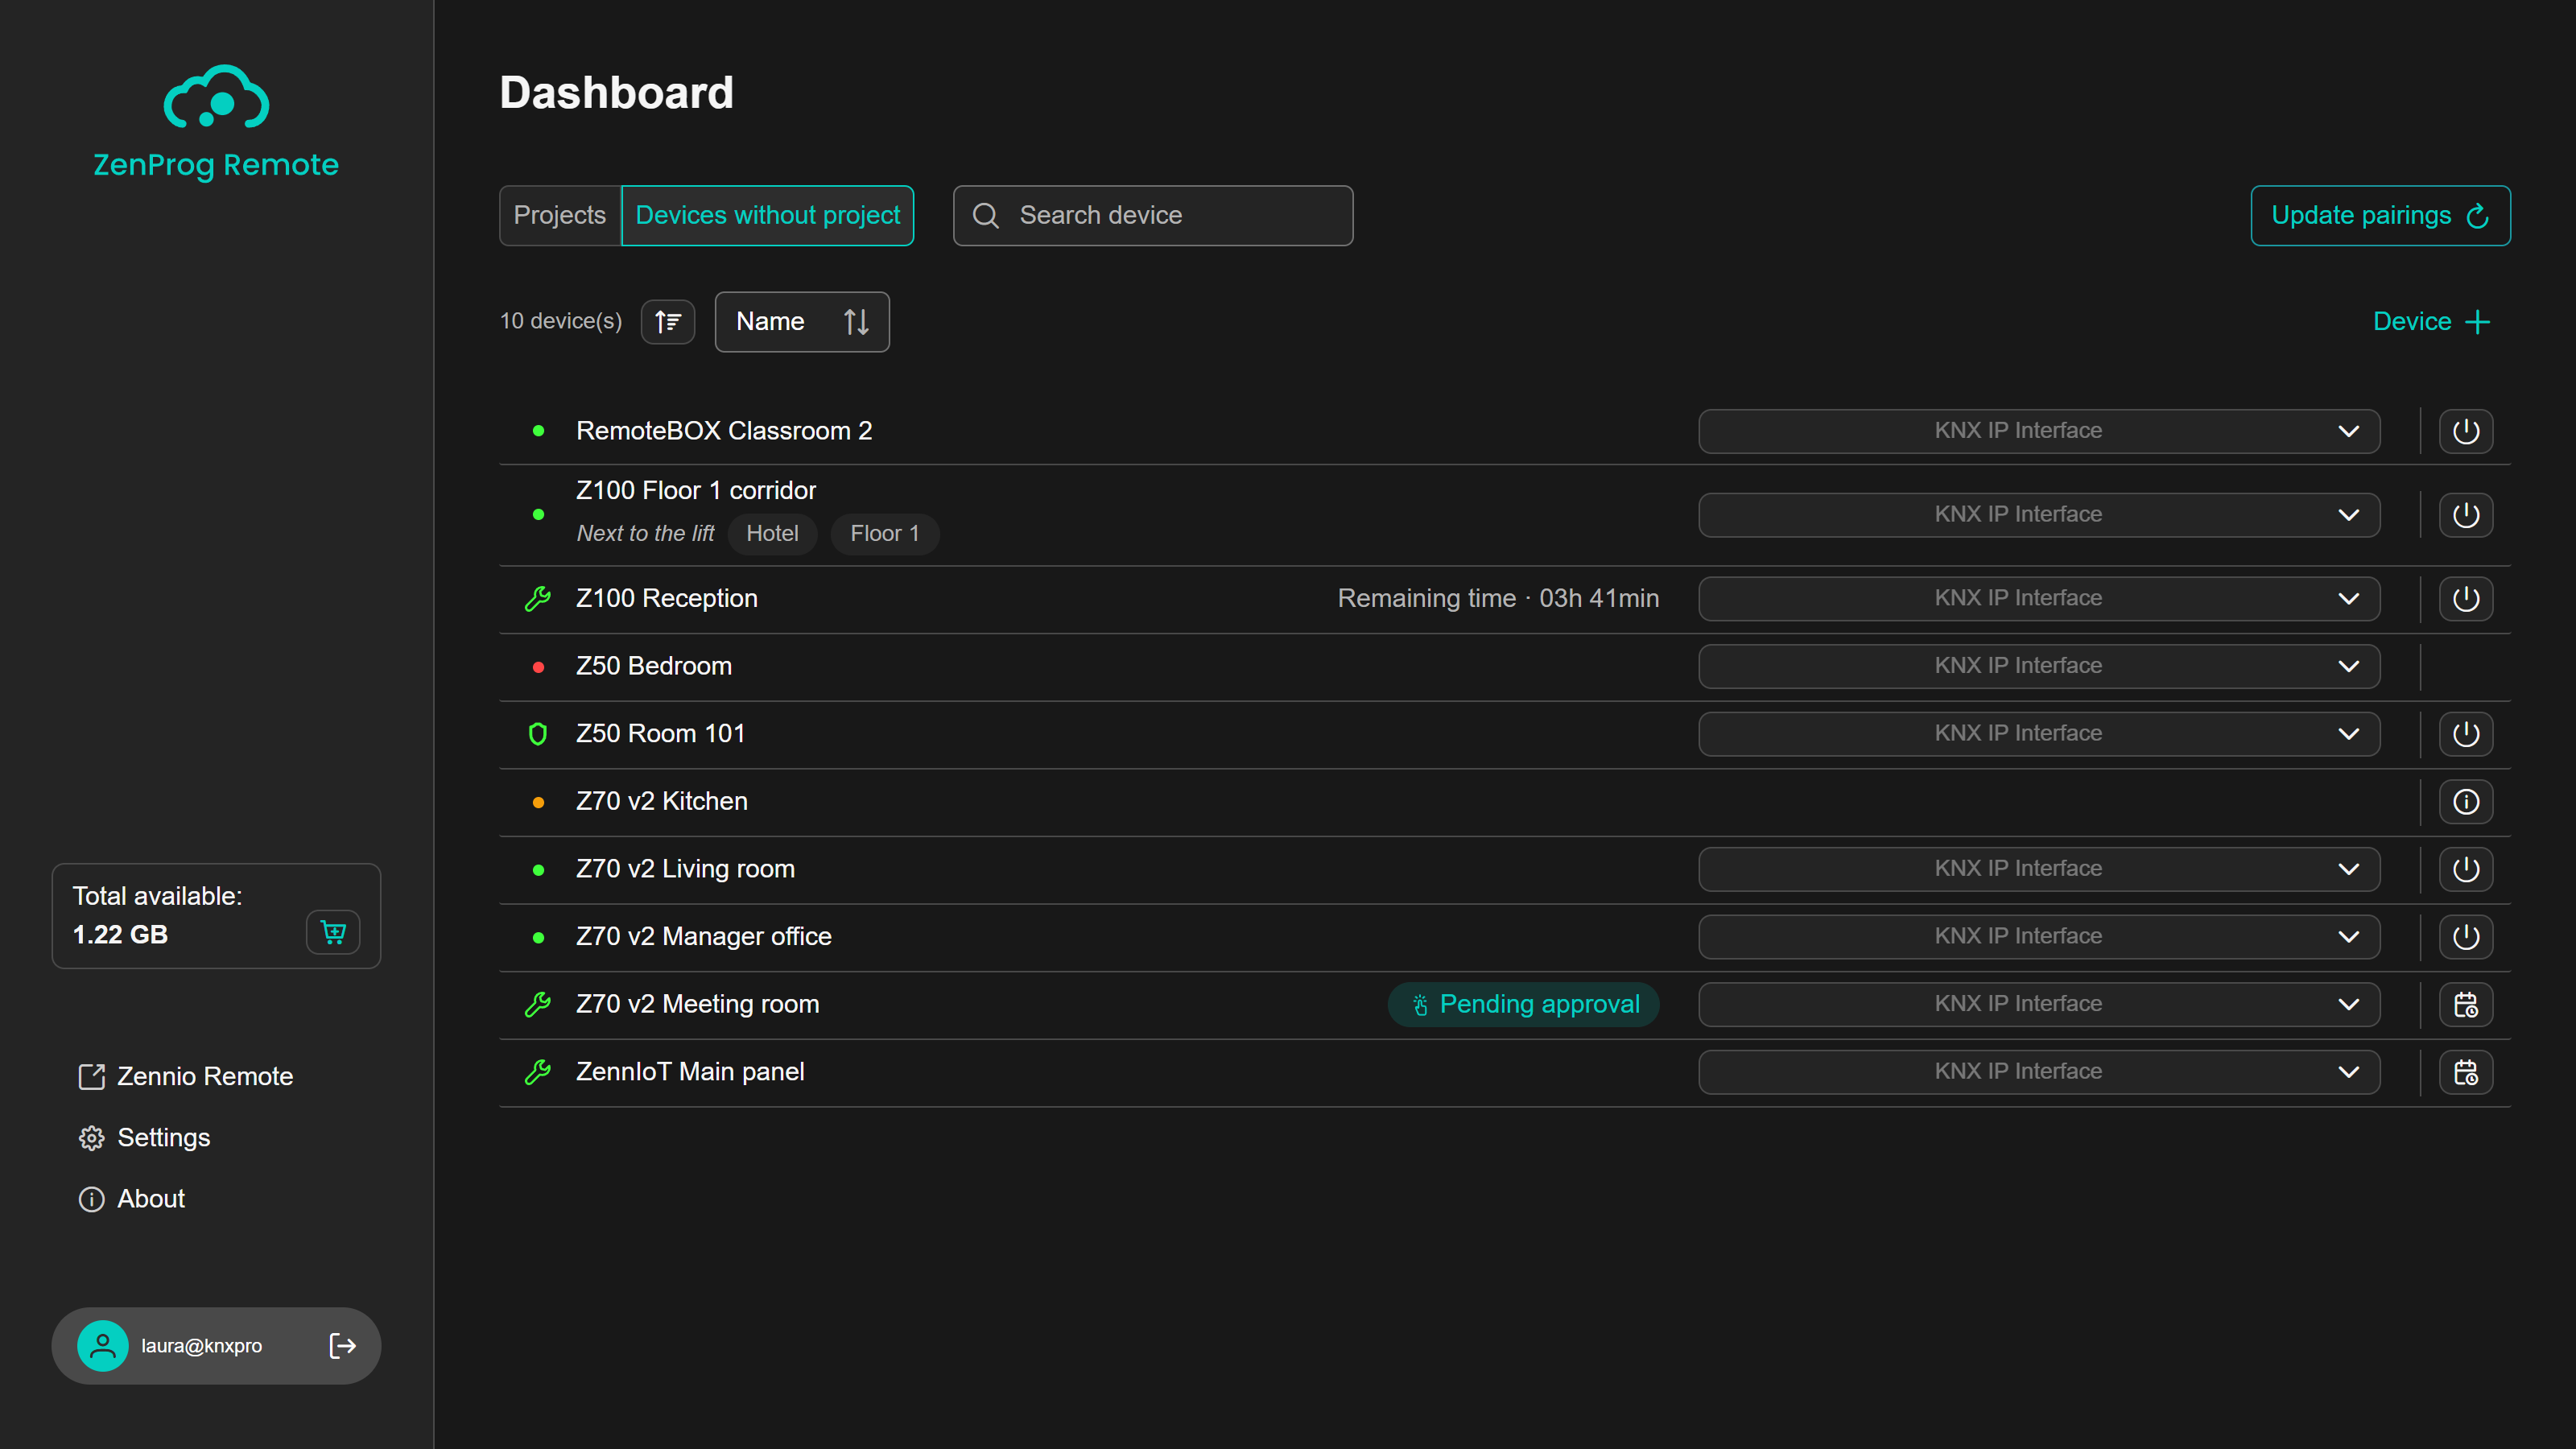
Above the list, the number of devices is indicated and, if there is more than one, they can be sorted by “Name”, “Last use” or “Pairing date”, in ascending or descending order. The “Device +” button pairs a new device (see section 3.3).
4.4. Project view
Opening a project shows its structure as a tree (Figure 20): levels can be collapsed and expanded, and devices appear under the level they belong to. Each device row offers the same actions as in the dashboard.
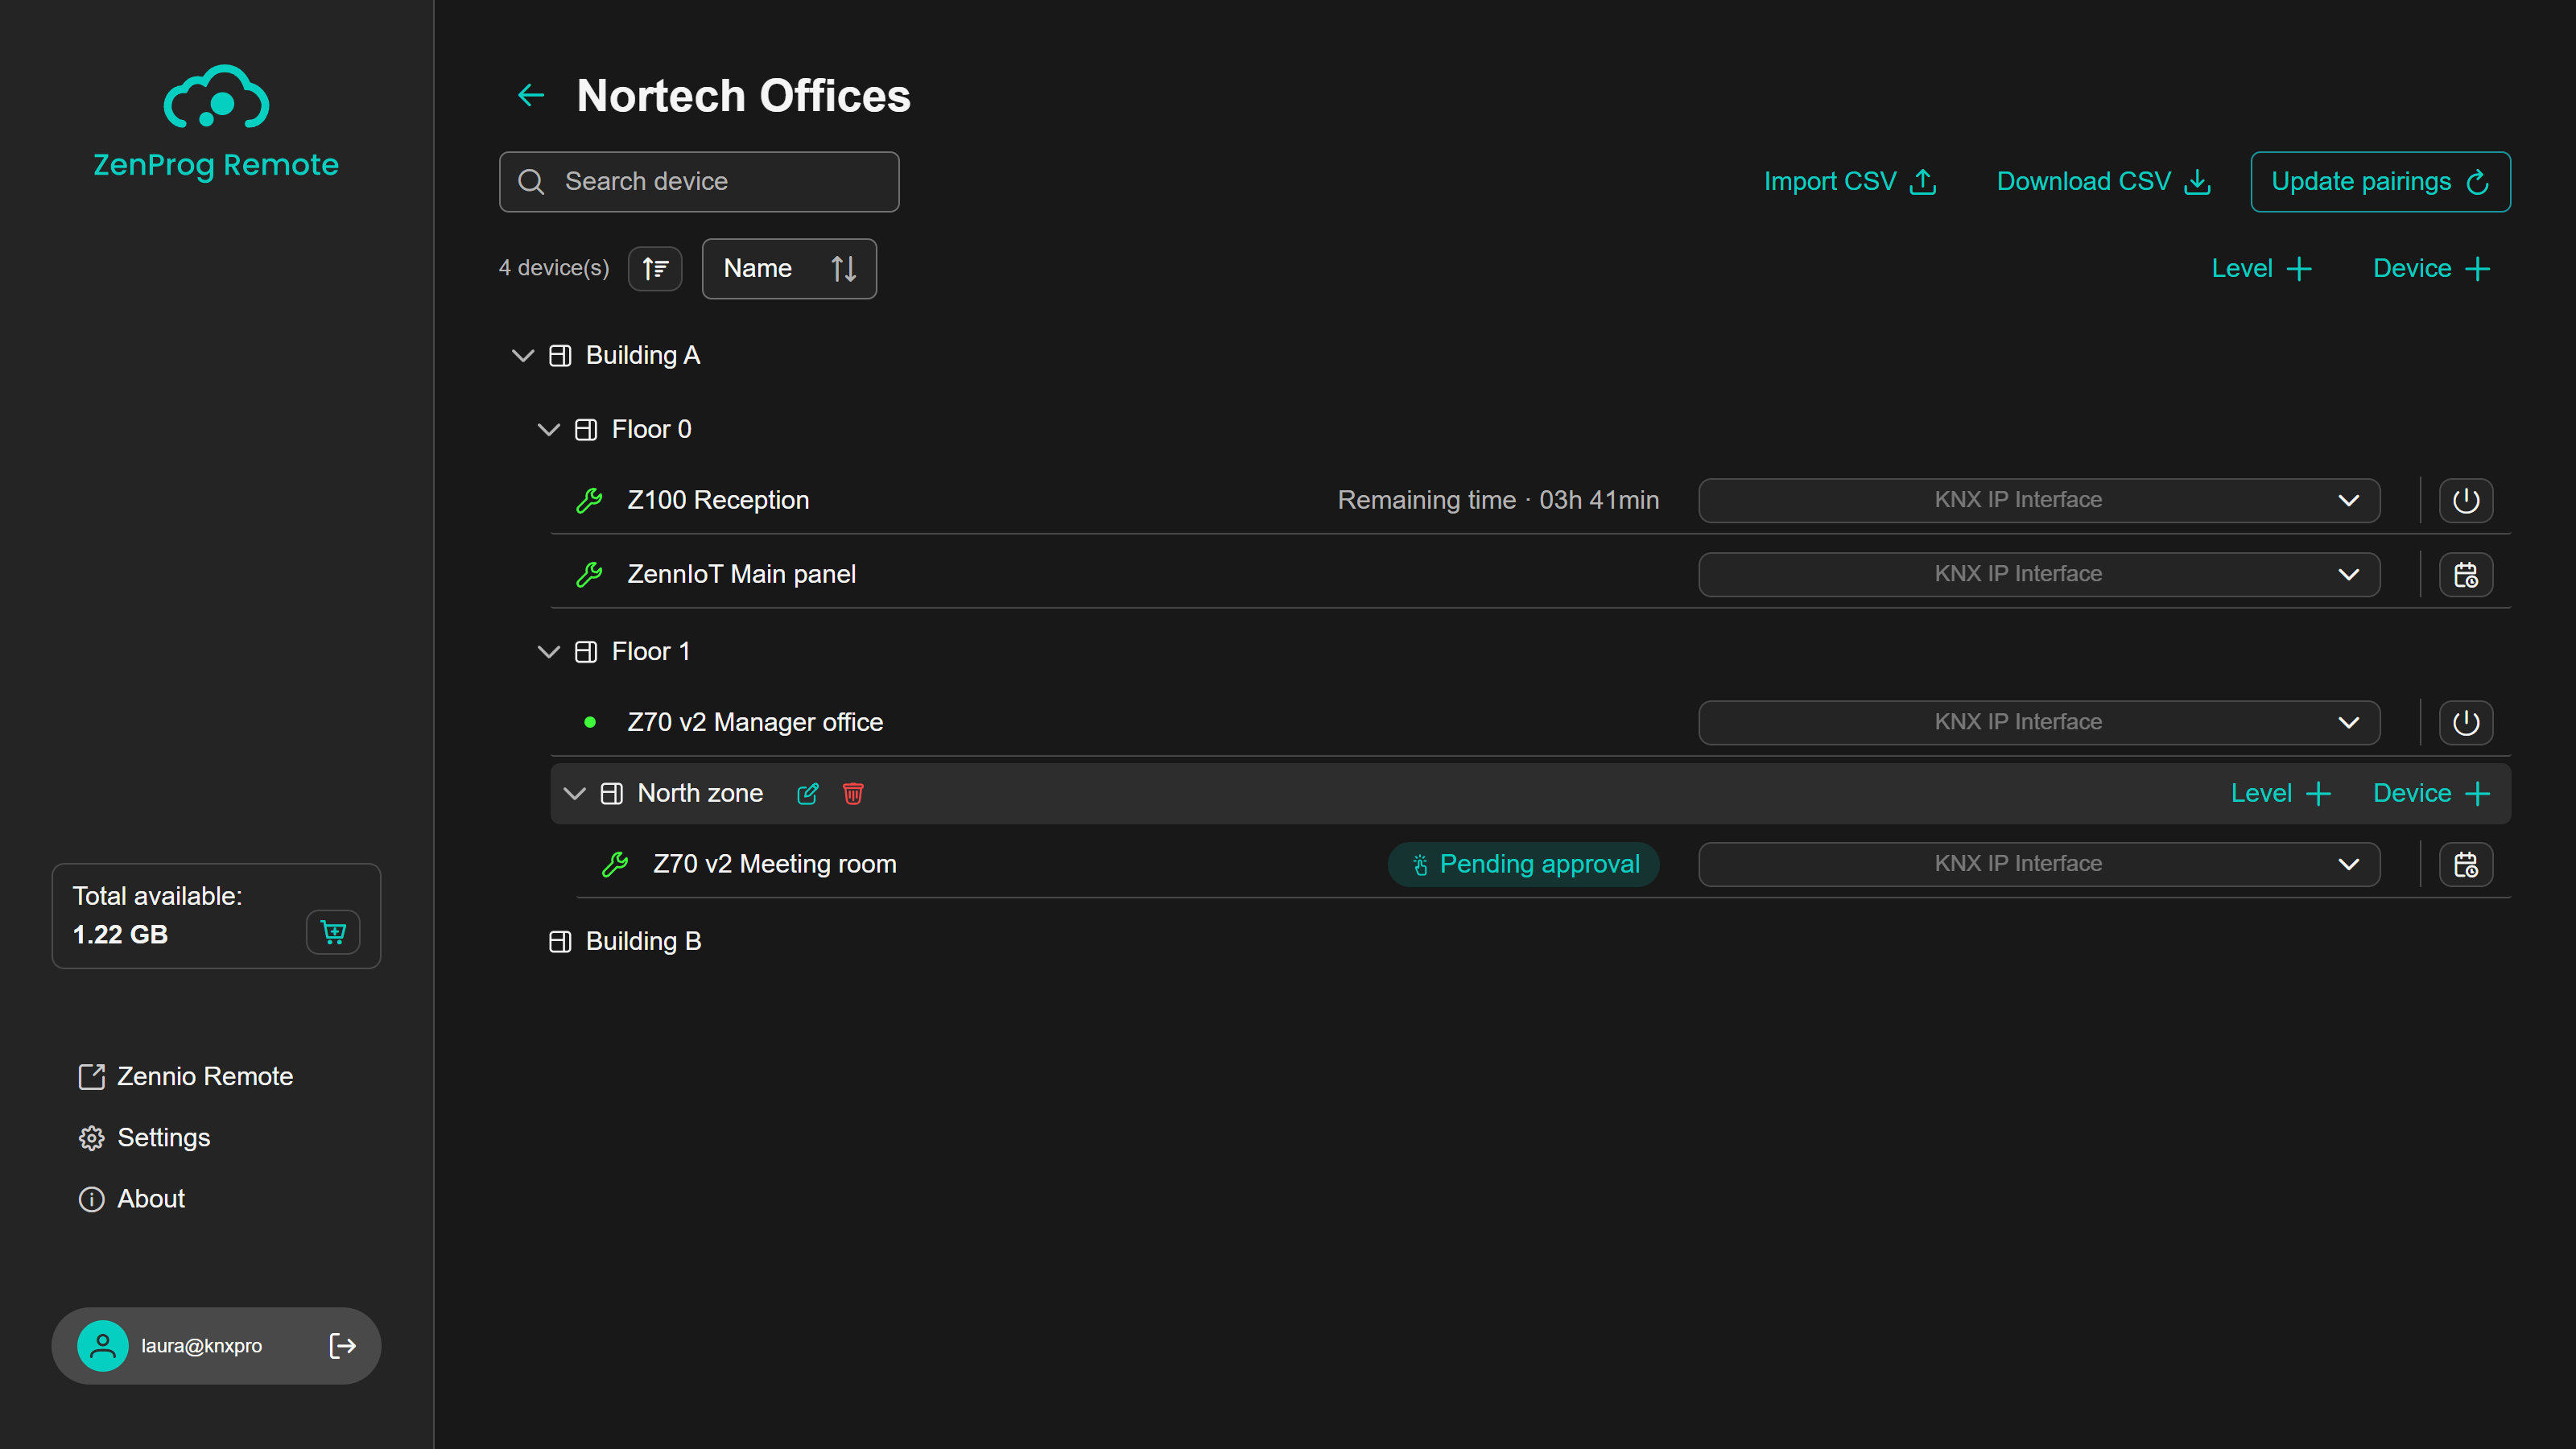
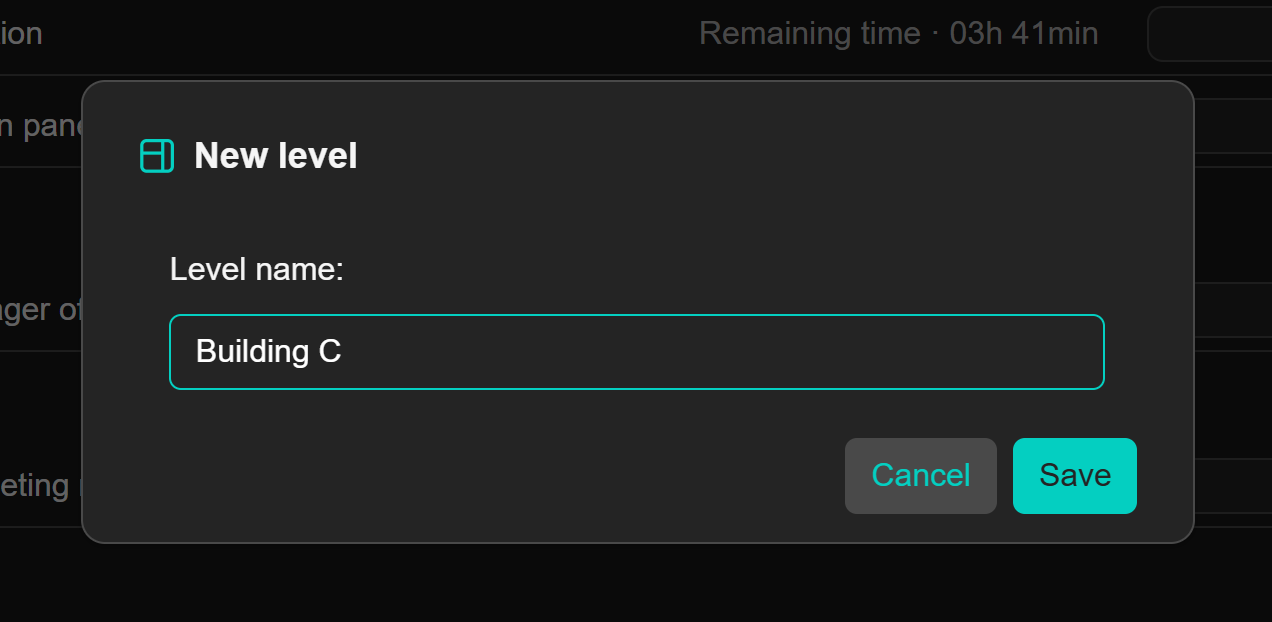
- Levels: a project supports up to four nested levels. To create a level, click on “Level +” in the project header or in the row of the parent level, and enter its name (Figure 21). Two levels with the same parent cannot have the same name.
- Actions of a level: placing the cursor over a level shows the icons to edit its name and remove it, and the “Level +” and “Device +” buttons to add elements inside it (Figure 22).

- Removing a level also deletes its sub-levels and the devices they contain; the application asks for confirmation and, if there are devices, allows choosing what to do with their pairings.
- Moving devices: devices can be dragged from one level to another with the handle on the left of the row. A device can only belong to one project.
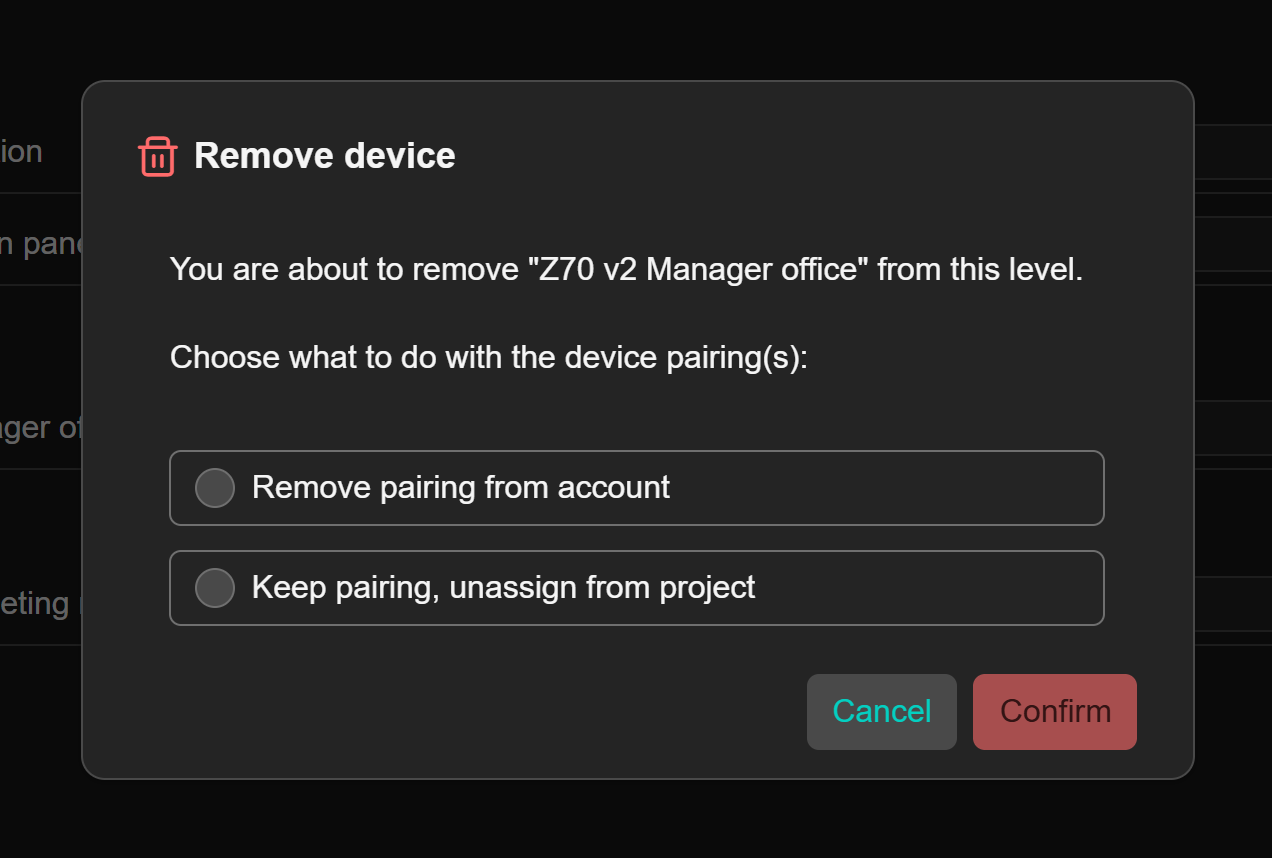
- Removing a device from the project opens the dialogue in Figure 23, which allows deleting the pairing from the account or keeping it and returning the device to the list of devices without project.
The “Search device” box filters the tree by device name and the sorting controls work in the same way as in the dashboard.
4.5. Importing and exporting the structure (CSV)
The structure of a project can be exported and imported in a CSV file, which makes it easier to prepare it in a spreadsheet or to reuse the structure of another project:
- “Download CSV” saves the current structure of the project. If the project is empty, the button is called “Download template” and generates a file with the header row only.
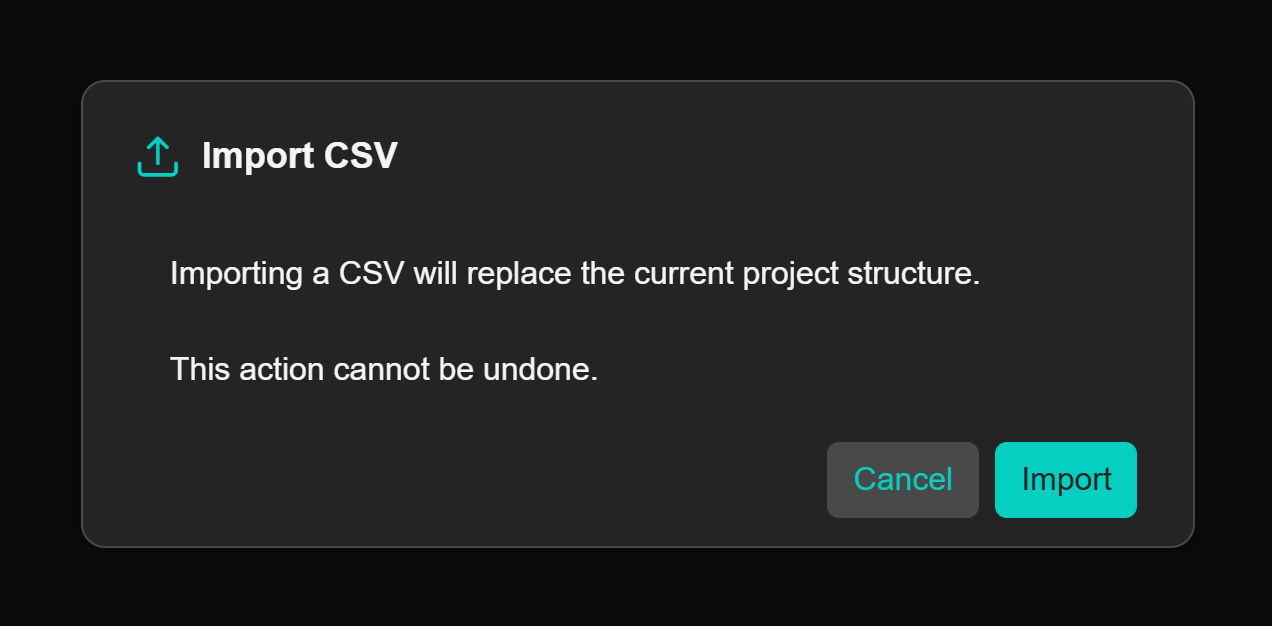
- “Import CSV” replaces the current structure of the project with that of the selected file, after confirmation (Figure 24).
The file has six columns in a fixed order (Table 3). The first row is the header and is ignored on import.
| Column | Content |
|---|---|
| Level 1 … Level 4 | Name of the level at each depth. An empty level does not count for the location of the device, and a level cannot have text if the level above is empty. |
| Device name | Name under which the device will be shown. |
| Serial number | KNX serial number of the device: twelve hexadecimal characters starting with 0071 (for example, 0071001A2B3C). |
Rules to bear in mind:
- There can be devices at any level of the project, including the root (all level columns empty).
- A row with levels and without a device creates the empty level.
- Only devices that are already paired with the account and that do not belong to another project are imported. Those that do not meet these conditions are skipped and reported when the import finishes.
- If the name in the CSV does not match that of the device, the application offers to update it.
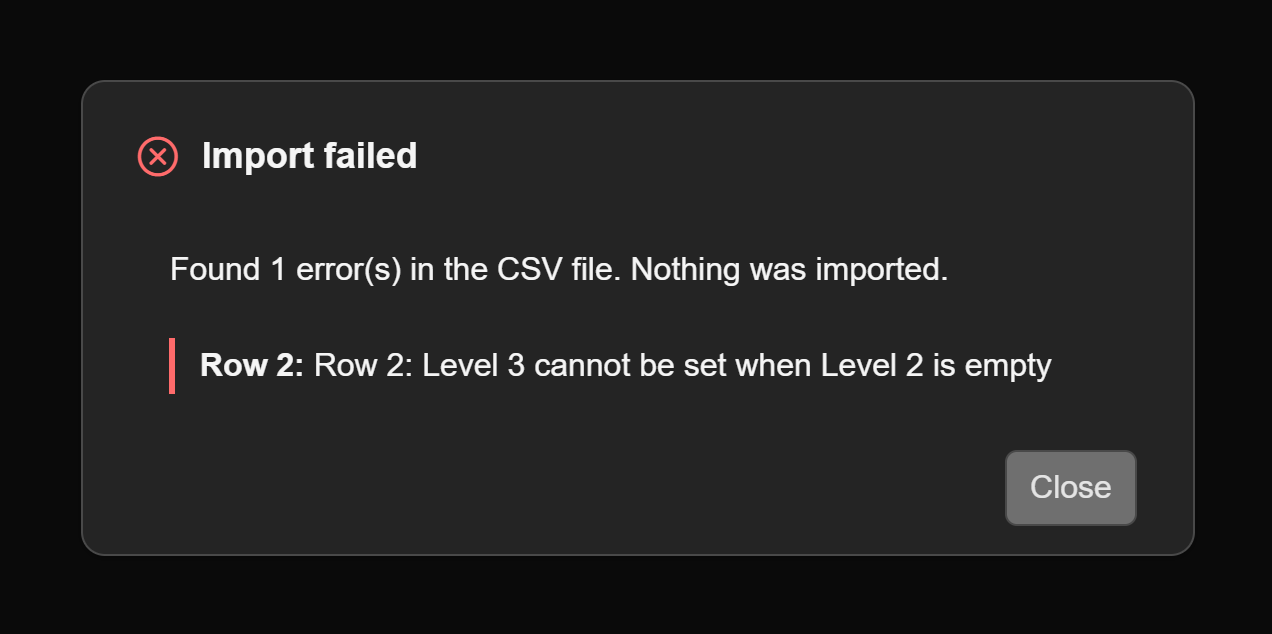
- If the file contains format errors, all of them are shown and nothing is imported (Figure 25).
Note
It is advisable to always start from the template downloaded from the application itself, which respects the expected column separator and order.