ZenProg Remote: 3. Devices and pairings
A pairing is the link between a Zennio Remote account and a Zennio device. ZenProg Remote shows every device paired with the account that is compatible with remote programming, as well as the devices of the Zennio Remote projects the account has access to.
3.1. Pairing types
Each device is shown with an icon to the left of its name indicating the type of pairing (Table 1).
| Icon | Type | Description |
|---|---|---|
| Coloured dot | Standard | Usual access of the owner or user of the installation. It allows connecting whenever the device is online. |
| Spanner | Technician | Temporary and supervised professional access, intended for installers and maintenance staff. Unless the device does not have any standard pairing yet, it requires an access request that the end user approves from Zennio Remote (see section 3.4). |
| Shield | Administrator | Administrator pairing, managed from Zennio Remote Manager. It cannot be edited or removed from ZenProg Remote. It requires firmware 4.4.x or higher on the device. |
In addition, the devices of shared projects appear in the list: devices delegated from a project of another Zennio Remote Manager account to an account with an integrator or administrator role. They are connected and programmed like any other device, but their pairing belongs to another account, so ZenProg Remote does not allow renaming them or removing their pairing. They can, however, be organised into ZenProg Remote projects. This feature requires that paired devices have firmware version 4.4.x or higher.
3.2. Device states
The colour of the icon indicates the state of the device (Table 2). Figure 7 shows several states in the device list.
| Colour | State | Meaning |
|---|---|---|
| Green | Online | The device is connected to Zennio Remote and ready to be used. |
| Red | Offline | The device is not connected to Zennio Remote (no power supply, no network…). It is not possible to connect until it is online again. |
| Orange | Incompatible firmware | The device is online, but its firmware does not support remote programming or the type of pairing used. The information button explains what to update. The standard pairings of the same device are not affected. |
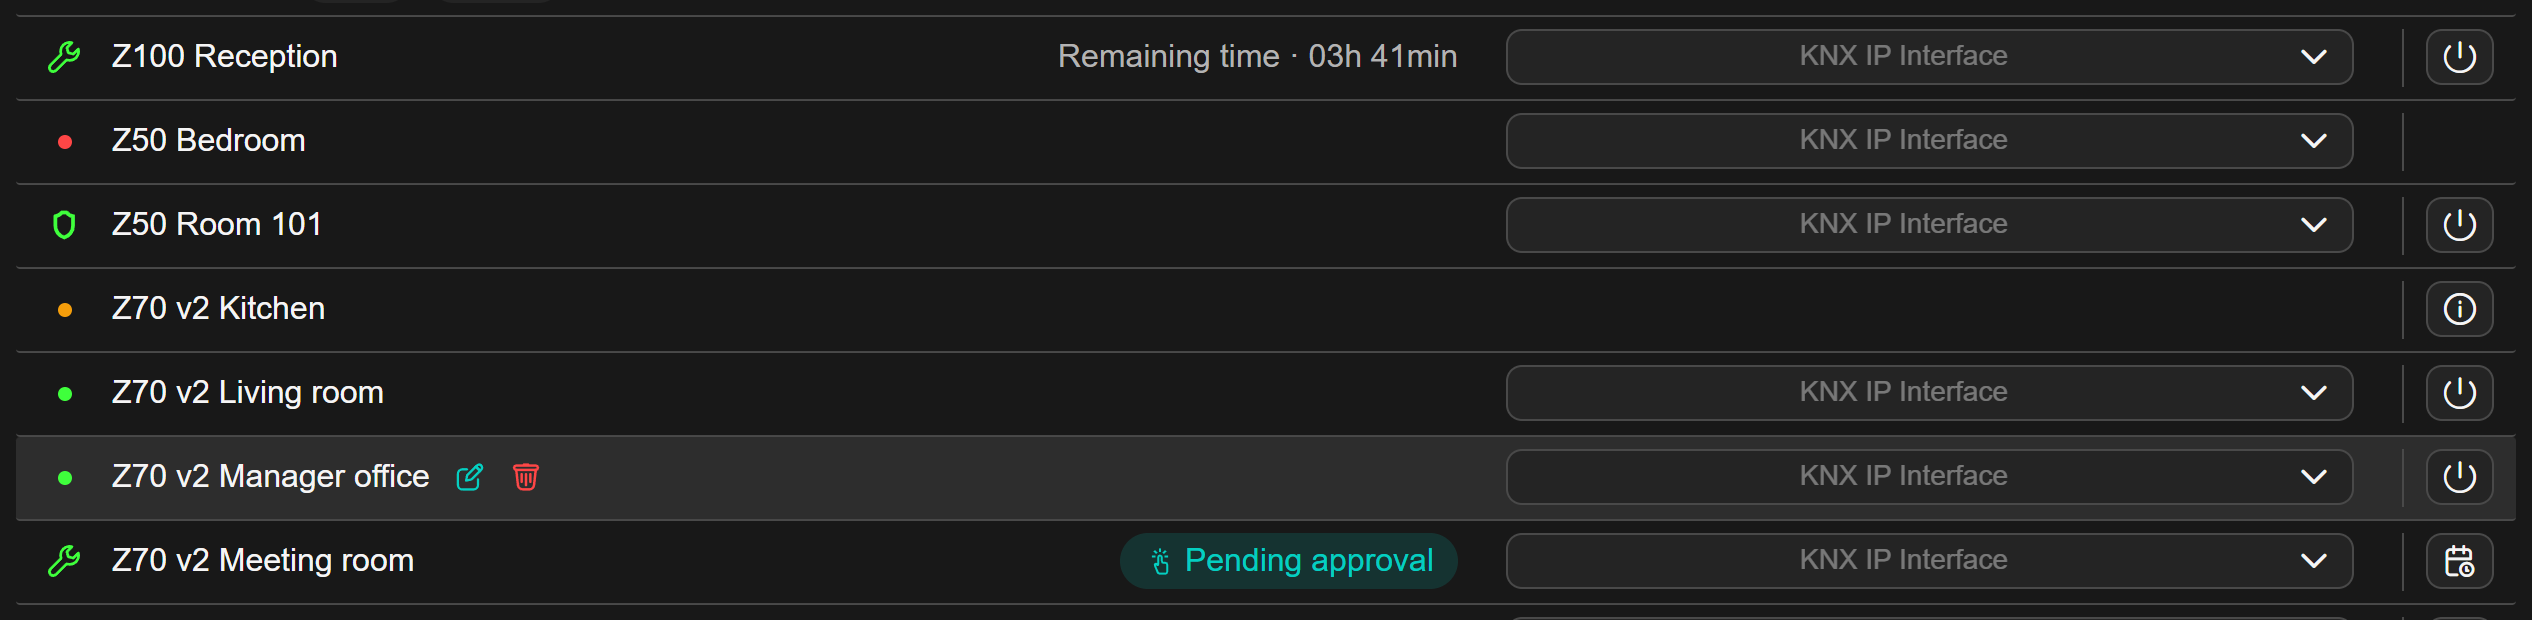
Technician pairings also show information about the maintenance access:
- “Pending approval”: an access request has been sent and the end user has not approved it yet.
- “Remaining time · hh h mm min”: the access is approved and the time left before it expires is indicated.
- No indication and with the calendar button: access has not been requested yet.
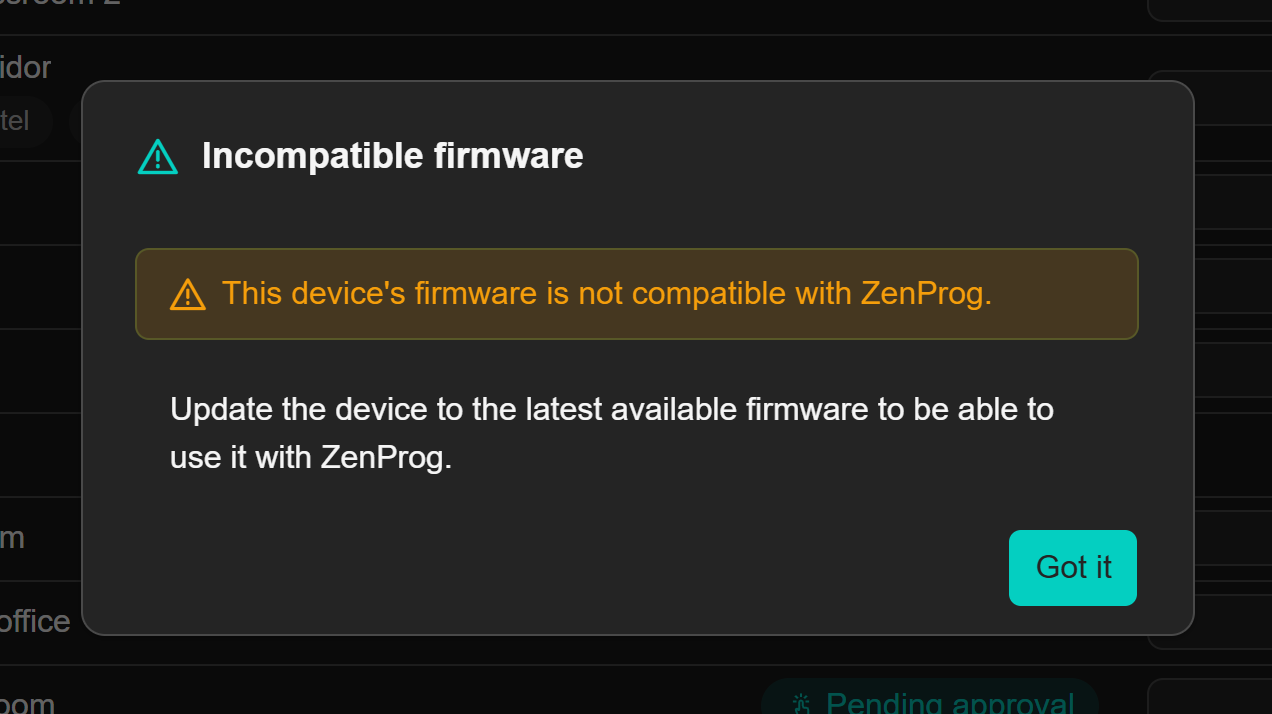
On devices in orange, the information button of the row opens the warning (Figure 8) stating the limitation that device has.
3.3. Adding a device
To pair a new device with the account, click on “Device +”. This button is available in the “Devices without project” tab of the dashboard and in any level of a project. The dialogue in Figure 9 opens.
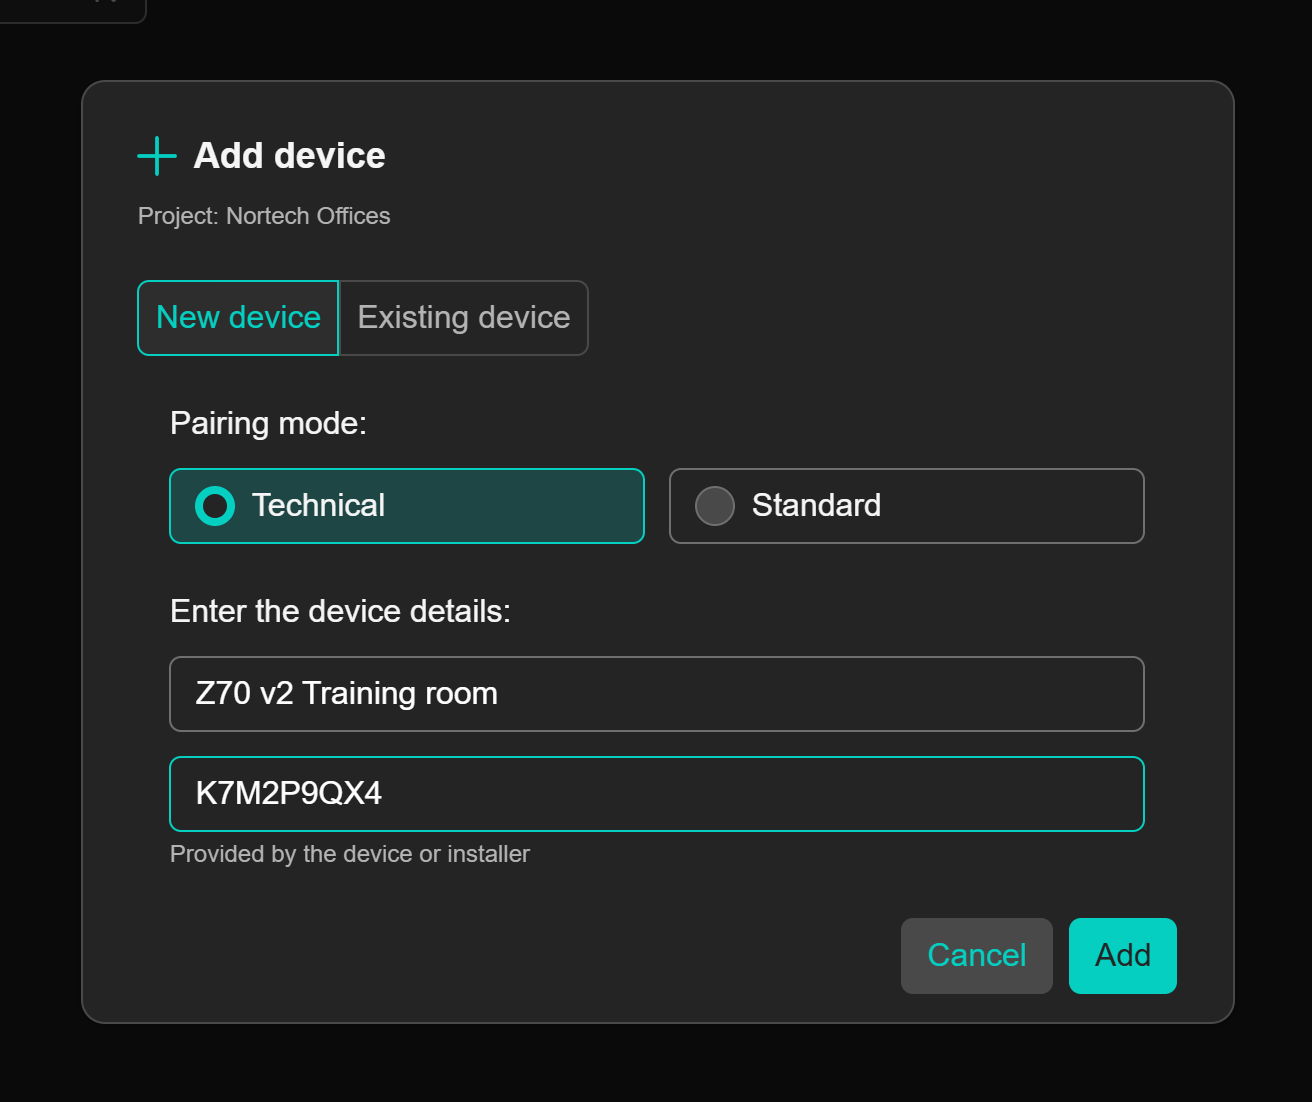
- Pairing mode: “Technical” (selected by default) or “Standard” (see section 3.1).
- Device name: name under which it will be shown in the list.
- Pairing code: nine-character code shown by the device itself or provided by the user. It is the same code used to pair the device in Zennio Remote.
On pressing “Add”, the device appears in the list and, if it has been added from a project, it is assigned to that level. If the pairing cannot be completed, the application states the reason (expired or wrong code, remote access disabled on the device, etc.).
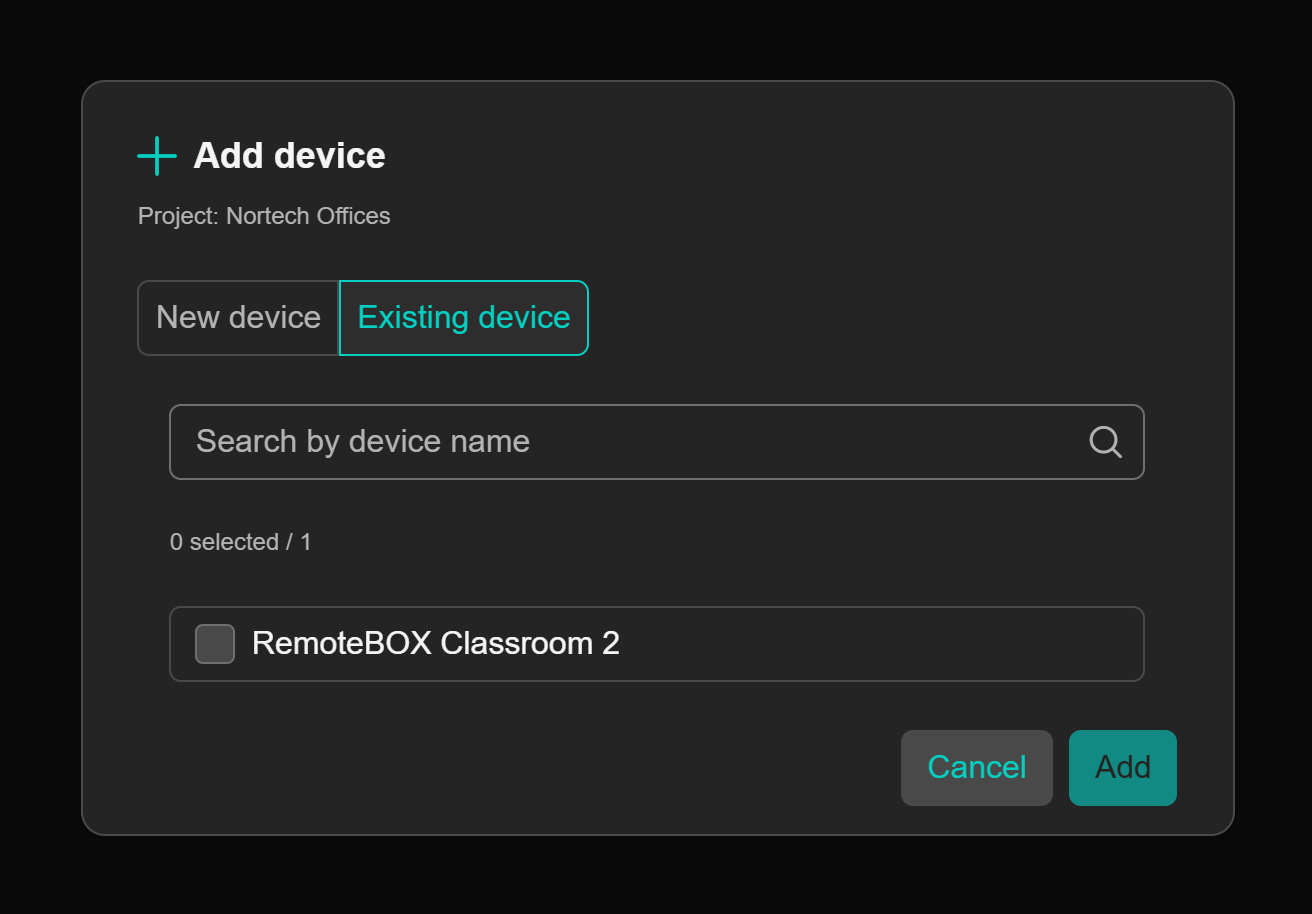
When a device is added from a project, the dialogue offers two tabs (Figure 10): “New device”, to make a new pairing, and “Existing device”, to assign to the project one or more devices that are already paired with the account but do not belong to any project.
Note
When acting as the installer or maintenance technician of somebody else’s installation, choosing the “Technical” mode is recommended. Selecting the appropriate type of pairing is the responsibility of the user.
3.4. Maintenance access (technician role)
The technician pairing guarantees that the remote access of a professional to an installation is temporary, limited and authorised by its owner. How it works depends on whether the device has other pairings:
- If the device does not have any standard pairing (for example, during commissioning), technician access is enabled automatically and it is possible to connect at any time.
- If the device already has a standard pairing, it is necessary to request a maintenance access and wait for the end user to approve it from Zennio Remote.
To request the access, click on the button with the calendar icon in the device row. In the dialogue (Figure 11) the duration of the access is chosen (1, 4 or 8 hours) and “Request access” is pressed. The time starts counting when the user approves the request.
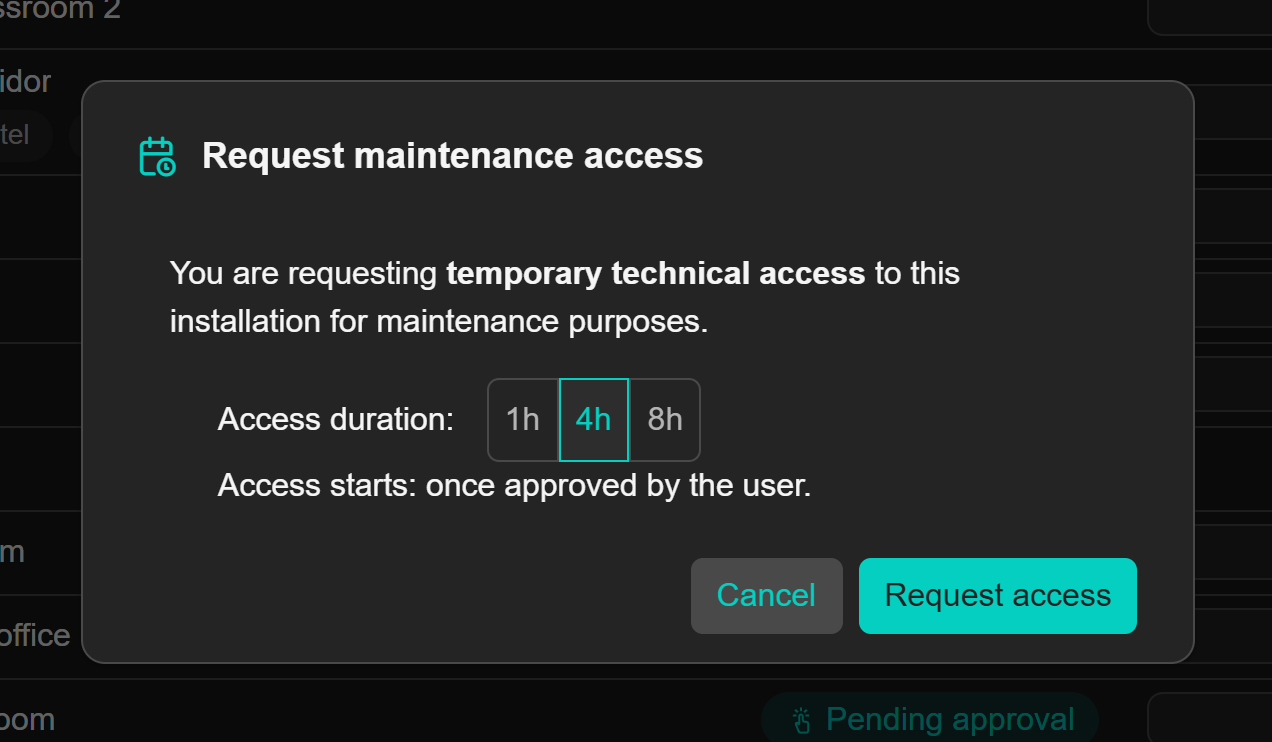
While the request is pending, the row shows “Pending approval” and the application checks whether it has been approved. If the user does not answer, the request can be sent again by pressing the same button. Once approved, the remaining time and the connection button appear; when the time runs out, the access expires automatically and must be requested again.
3.5. Editing and removing devices
Placing the cursor over the row of a device shows, next to its name, the edit (pencil) and remove (bin) icons, as shown in Figure 12.

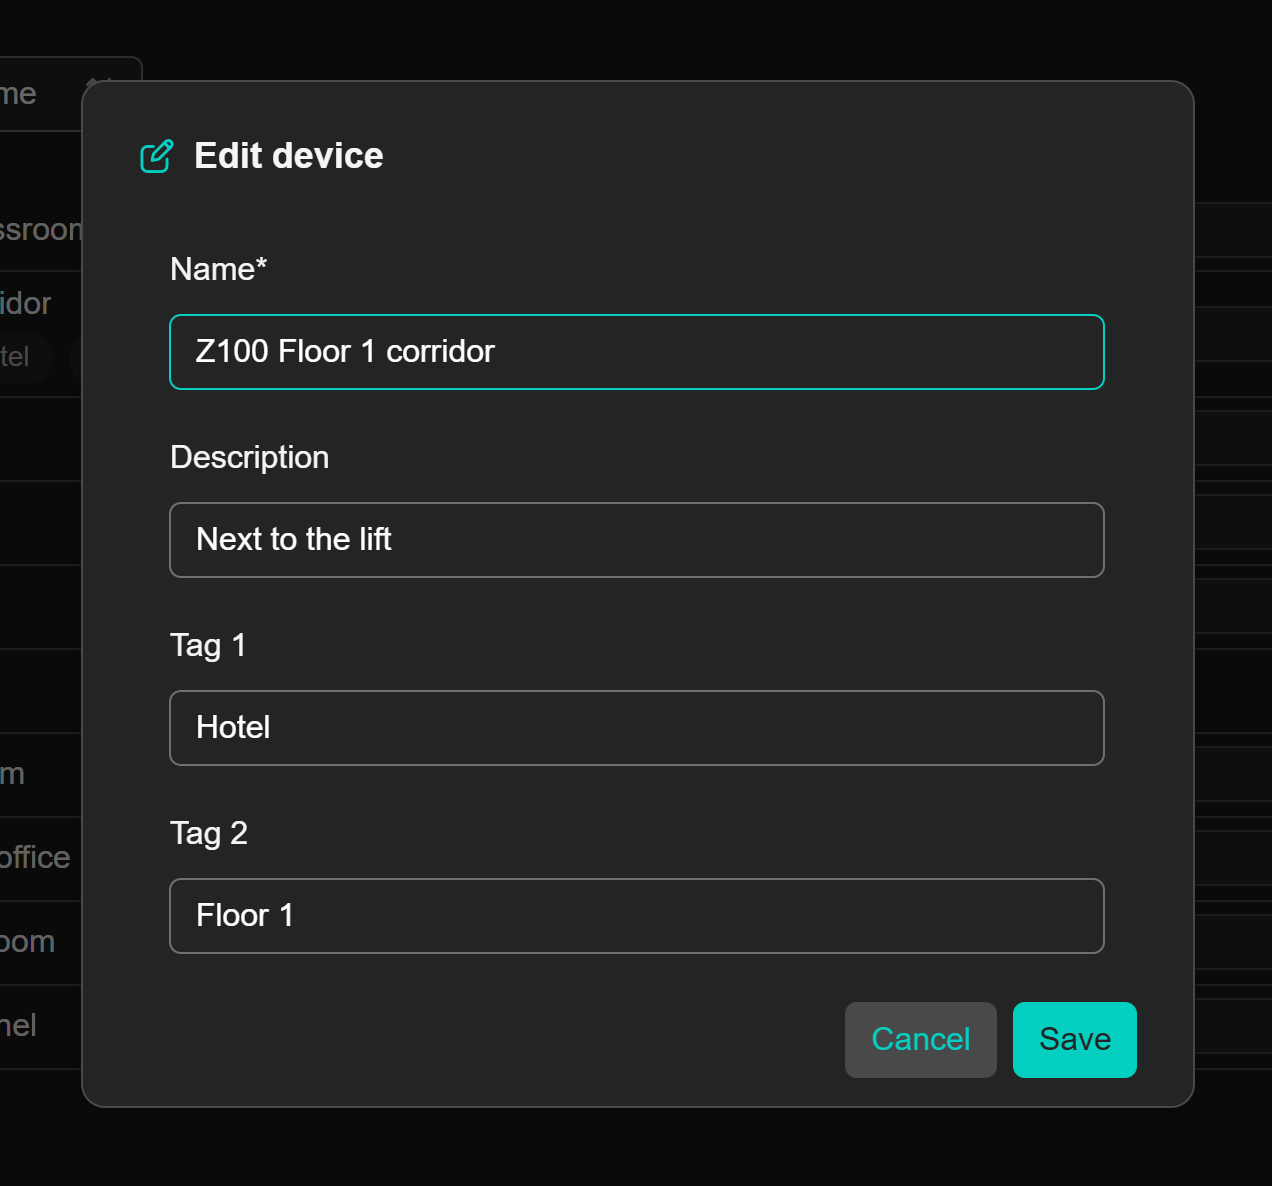
Edit allows changing the name, the description and up to two tags of the device (Figure 13). The description and the tags are shown under the name in the list and serve to identify the device in more detail.
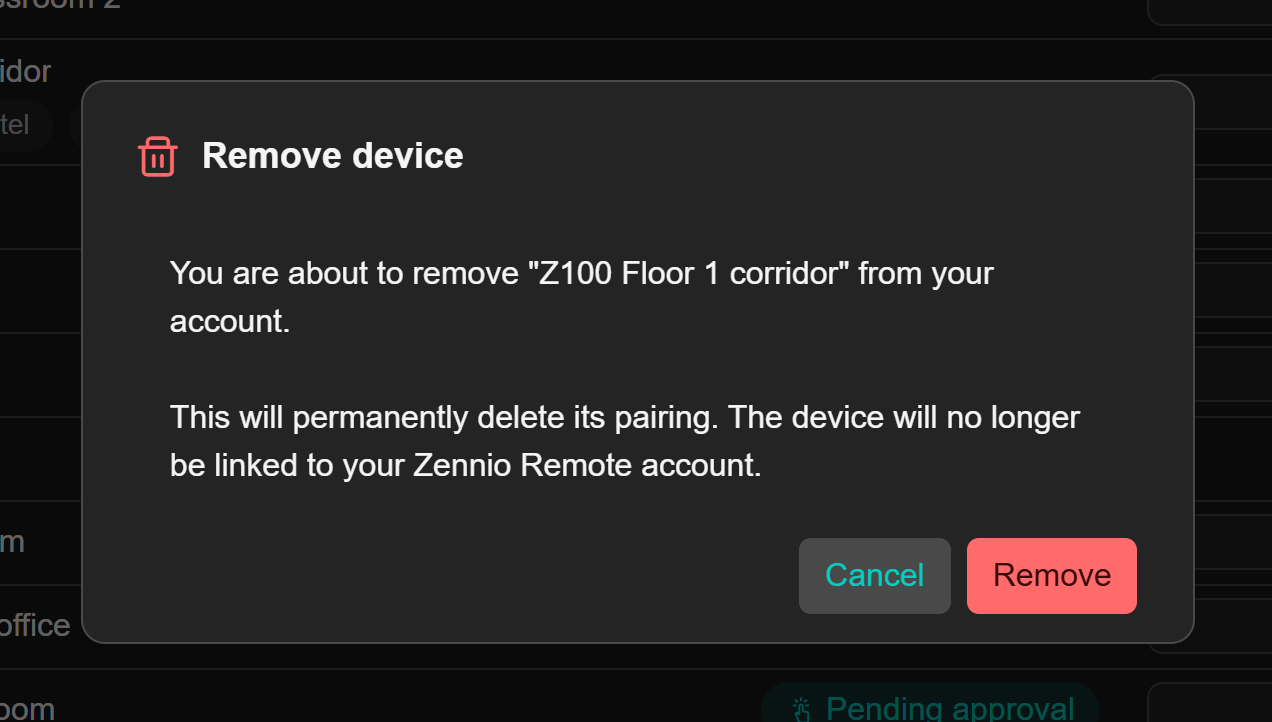
Removing a device from the “Devices without project” tab deletes its pairing from the account (Figure 14). The device stops being linked to the Zennio Remote account, also in the mobile application and in the web portal. When removing a device that belongs to a project, the application allows choosing between deleting the pairing or keeping it and taking the device out of the project (see section 4.4).
Important
Administrator pairings and the devices of shared projects cannot be edited or removed from ZenProg Remote. These actions must be performed from Zennio Remote Manager.
3.6. Refreshing the device list
The “Update pairings” button reads the complete list of devices and their state from the server again. In addition, the list is refreshed automatically in the following cases:
- On logging in.
- On adding or removing a device.
- When the ZenProg Remote window comes back to the foreground, to pick up the changes made in Zennio Remote in the meantime.
- Before connecting to a device, to check that the pairing is still valid.
- Periodically, when there are technician pairings with a pending access request.
Note
If a pairing is deleted from Zennio Remote or from another computer, the device disappears from the list on the next refresh or when any action on it is attempted.